Playground
Think of this as a practice interview room. Test how your assistant handles questions before they meet real customers. It’s a safe space to see their strengths and areas for improvement.
Welcome to the AI Assistants documentation! Think of your AI assistant as a new team member you’re bringing on board. Just like training a new employee, you’ll teach them about your business, show them how to talk to customers, and help them learn your company’s way of doing things.
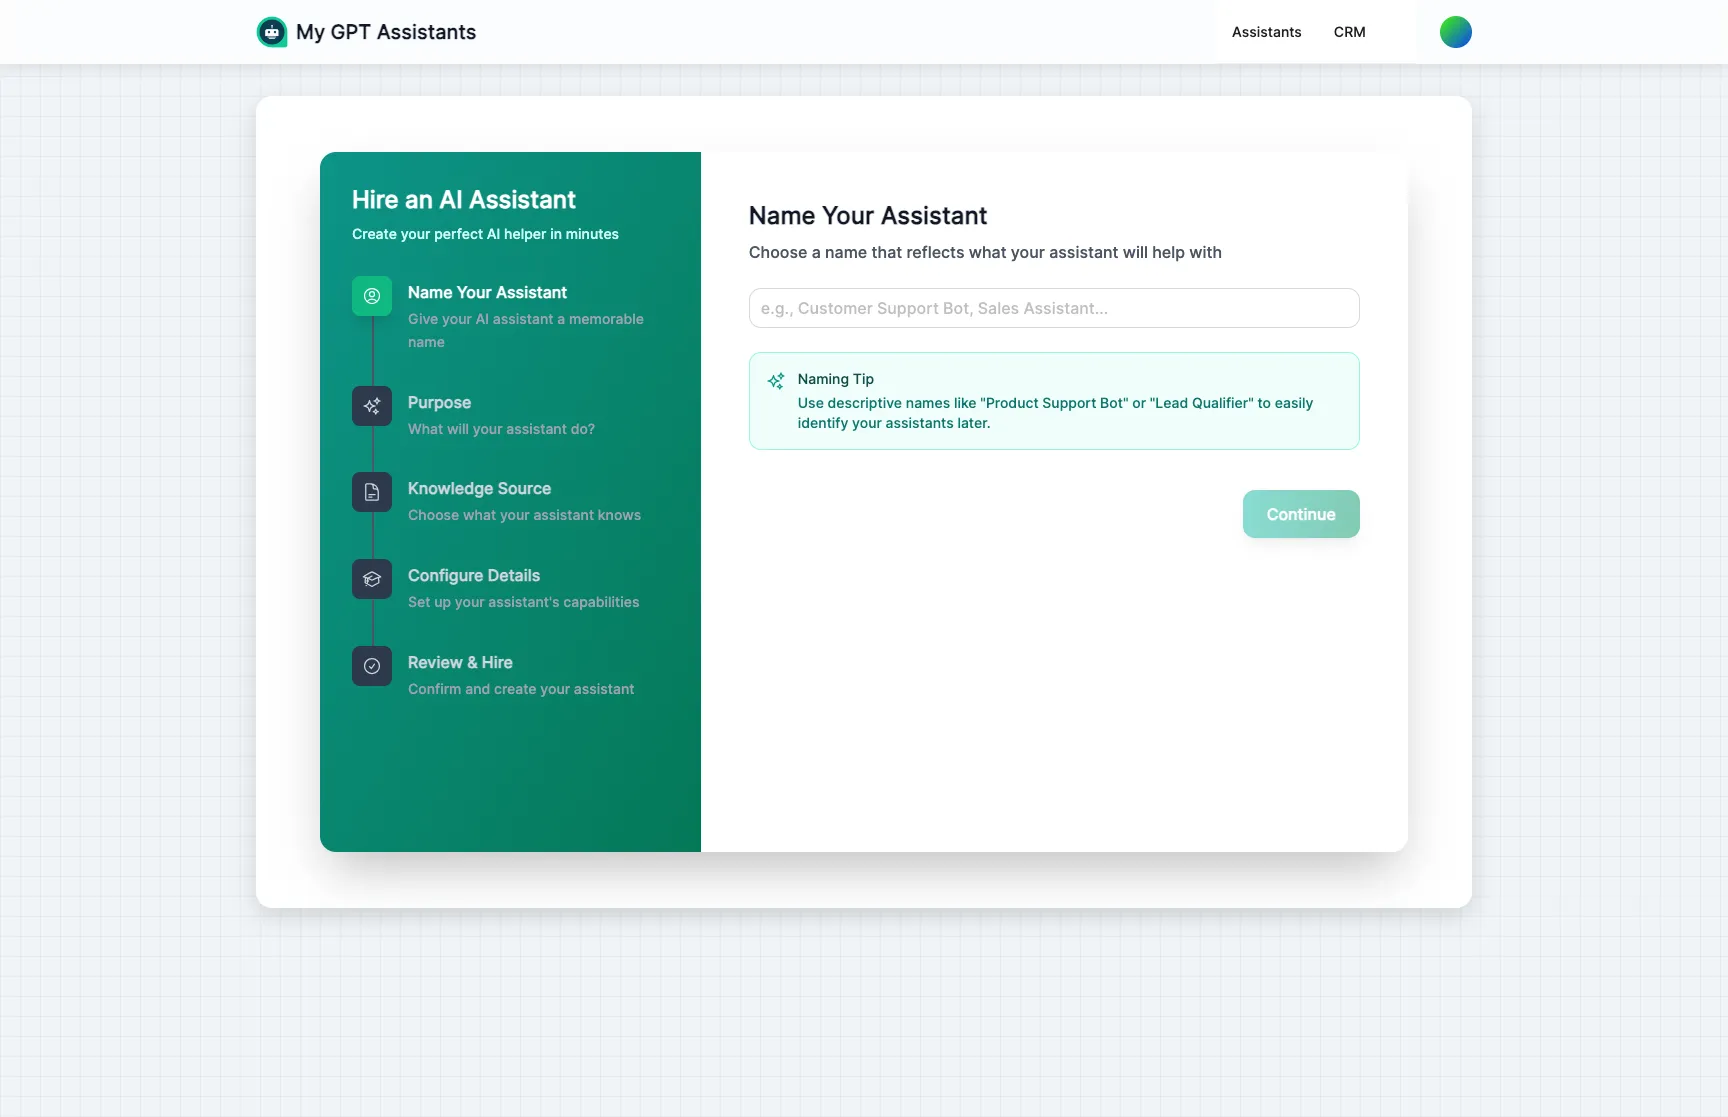
Creating a new assistant is easy with our step-by-step wizard:
Name Your Assistant
Give your assistant a unique name and choose who can access it (public, private, or contacts-only).
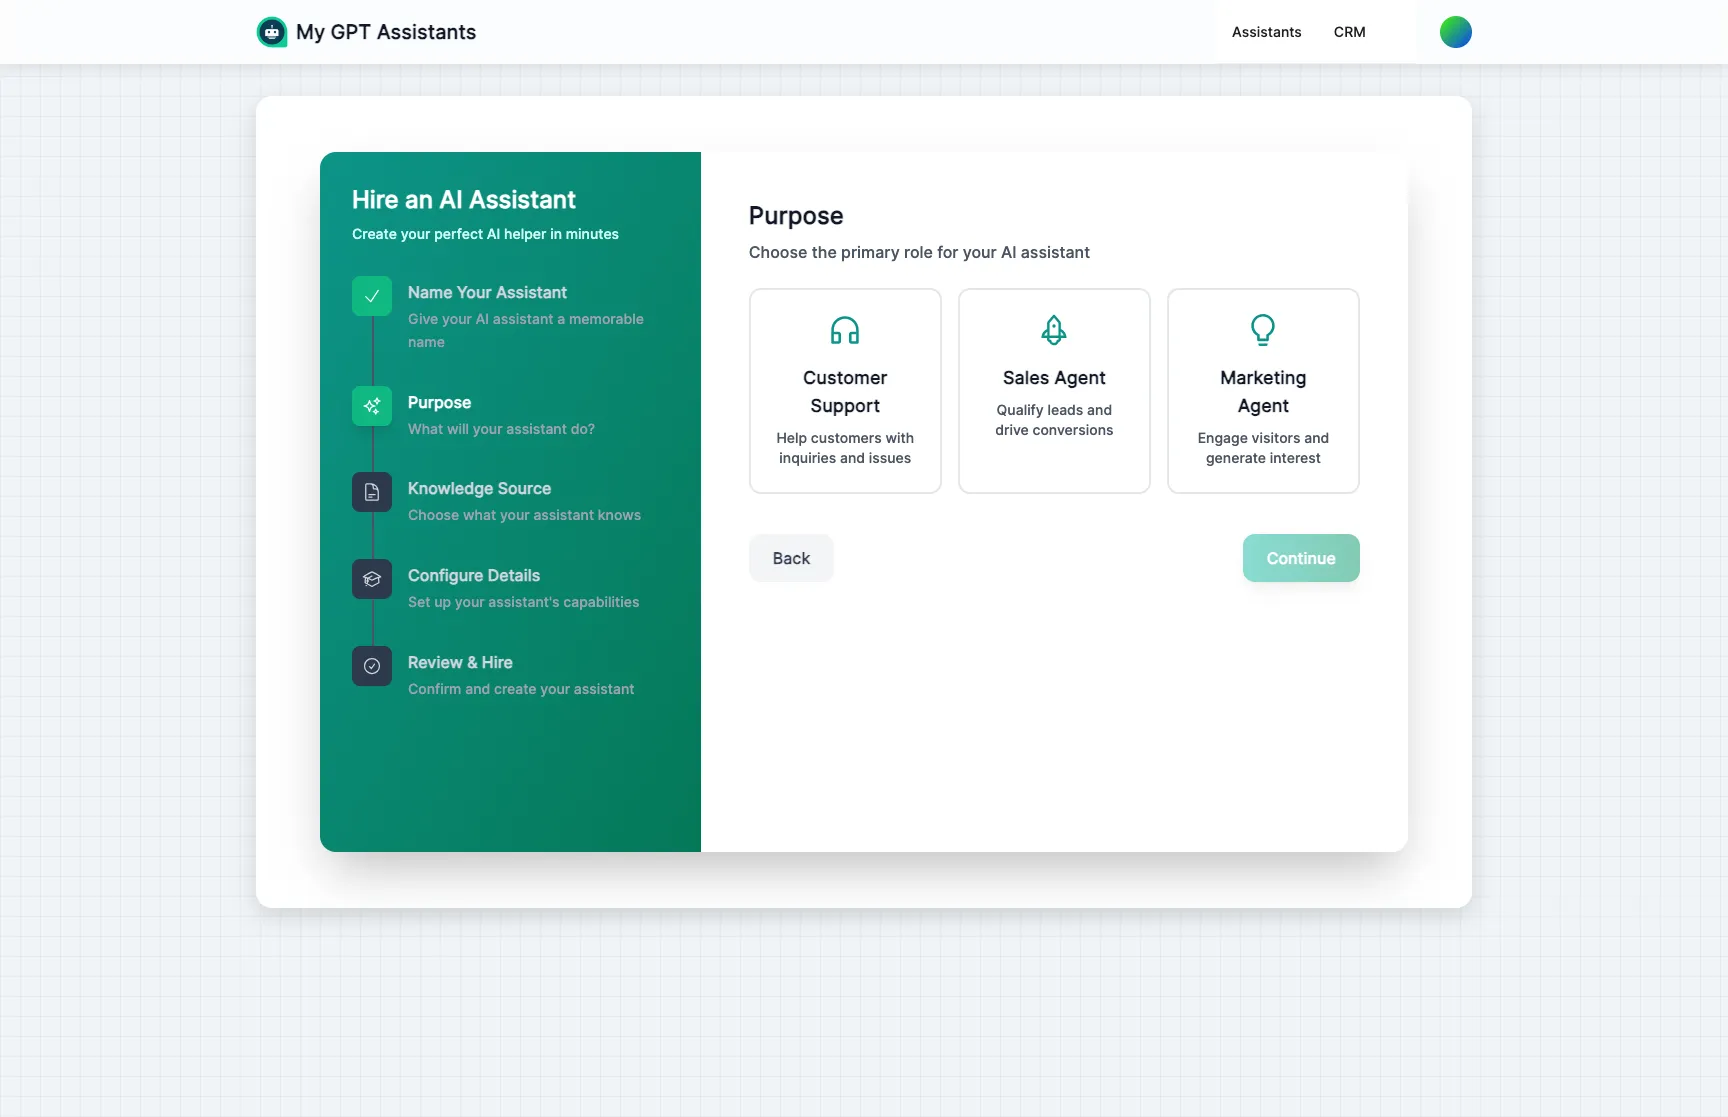
Define Their Purpose
Choose from preset roles like Customer Support Agent, Sales Representative, or create a custom role. This shapes how your assistant will behave.
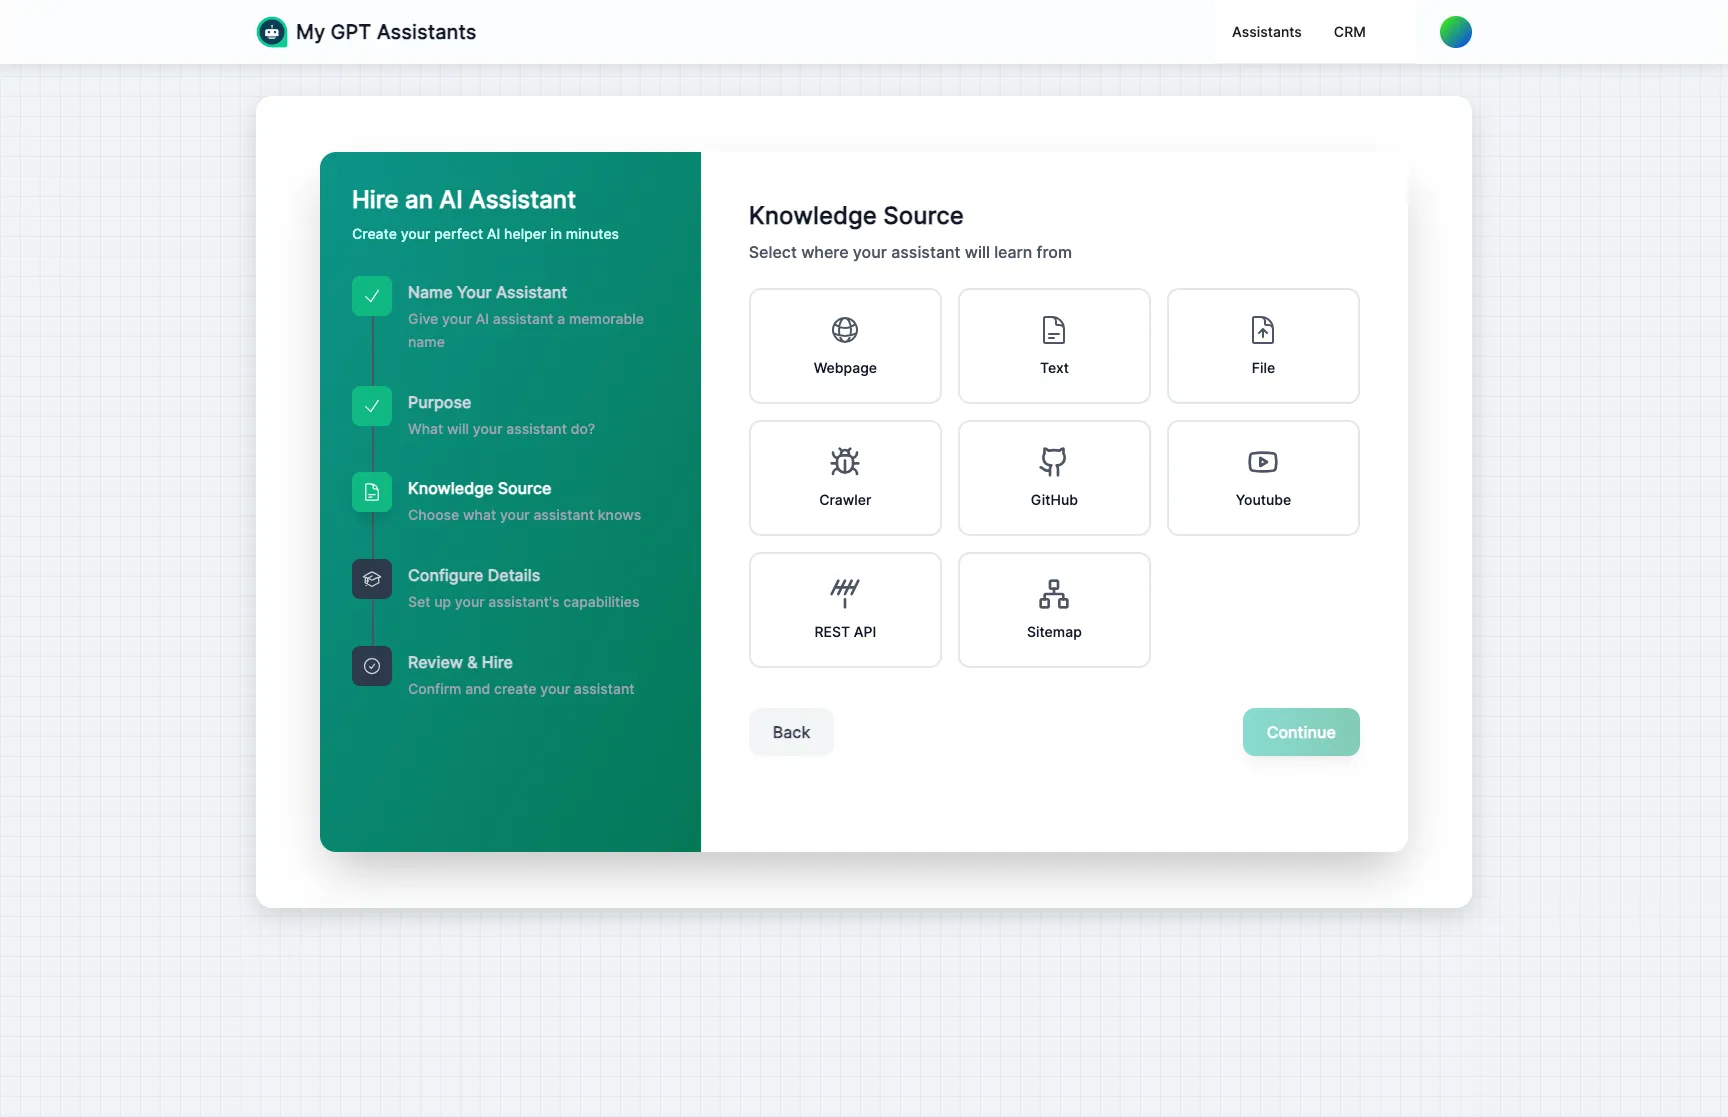
Add Initial Knowledge
Point your assistant to your website or upload documents so they can start learning about your business right away.
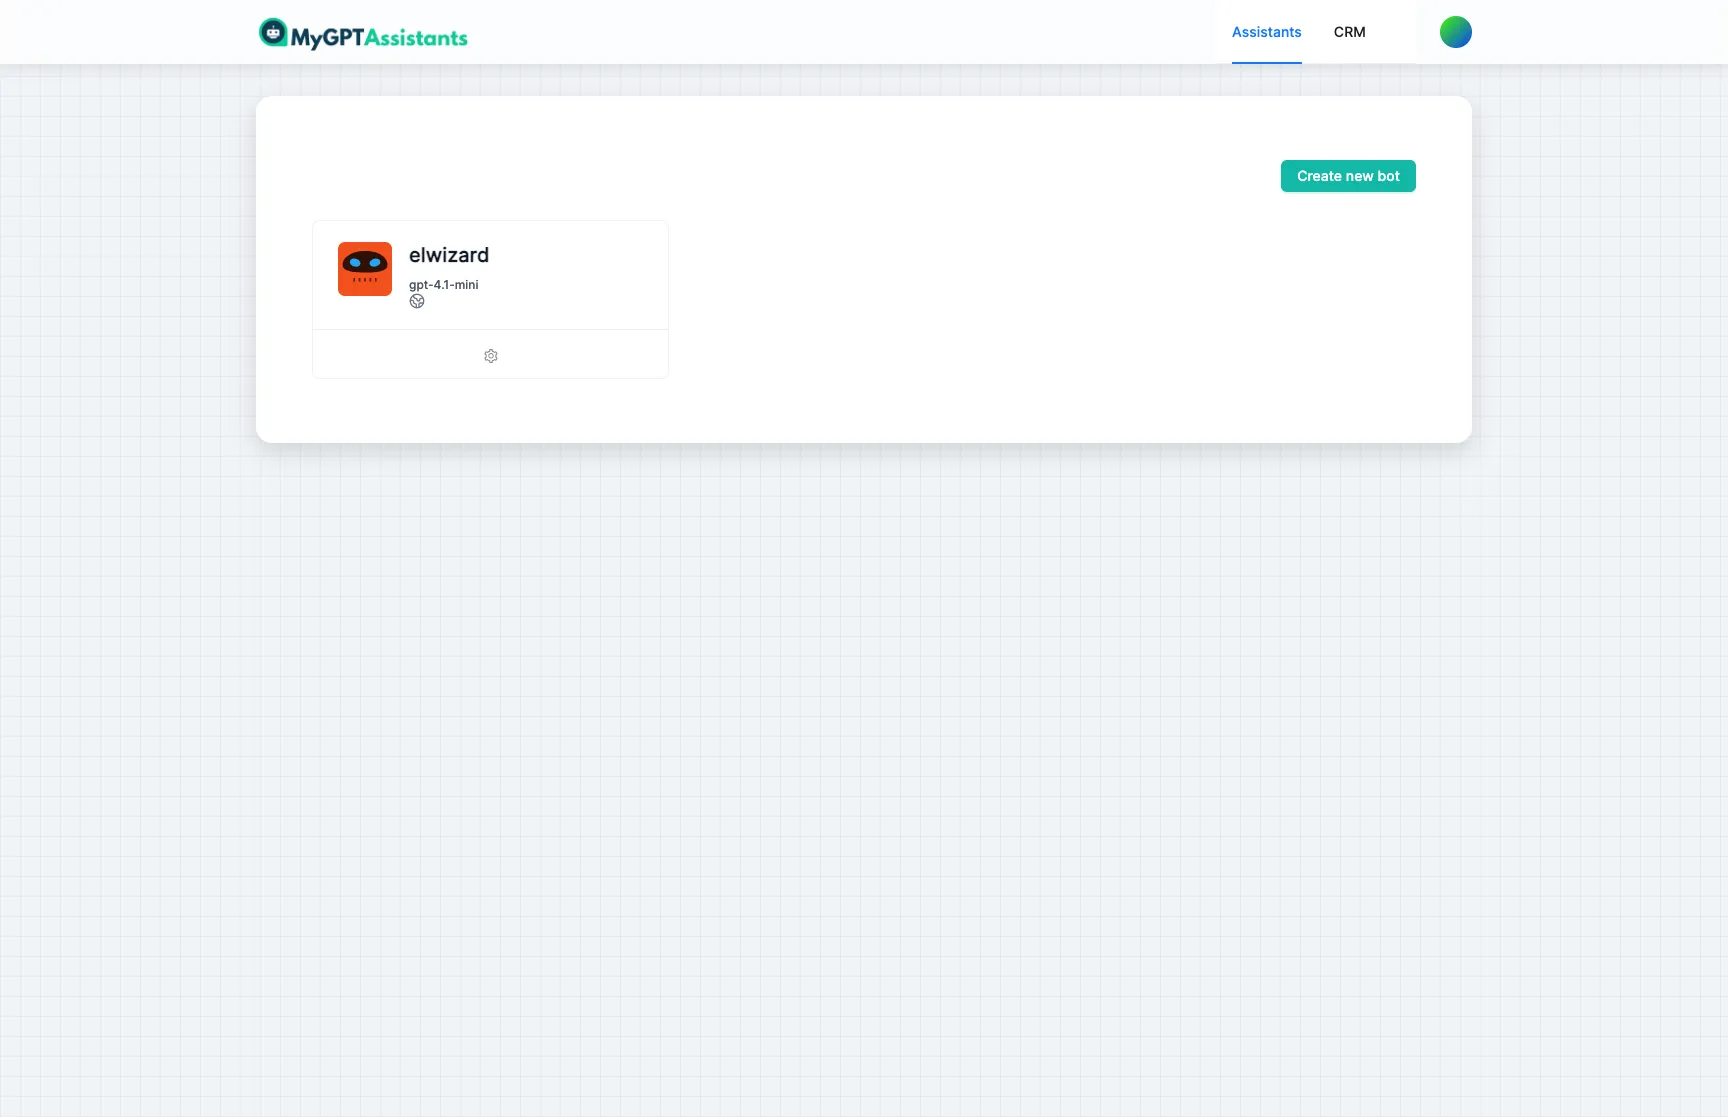
MyGPTAssistants lets you create your own virtual team members that can:
Playground
Think of this as a practice interview room. Test how your assistant handles questions before they meet real customers. It’s a safe space to see their strengths and areas for improvement.
Search
Check what your assistant has learned. Ask a question and see if they can find the right answer from their training materials.
Appearance
Dress your assistant for success! Choose colors and styles that match your brand, just like giving them a company uniform.
Settings
Define your assistant’s personality and how they should behave. Are they formal or casual? Helpful or brief? You decide!
Data Sources
Share your training materials! Upload documents, share website links, connect Google Drive, or type information directly. Everything you share helps your assistant learn about your business.
Plugins
Give your assistant real abilities: schedule appointments with calendar sync, hand off to human agents, connect your CRM toolkit, or integrate your WordPress site.
Agent Framework
Define your assistant’s purpose, capabilities, and guardrails. Set it up as a support agent, sales rep, or proactive scheduler. Control exactly what it can and can’t do.
WordPress Plugin
Native WordPress plugin that embeds your chat widget with a shortcode. Full settings panel, widget customizer, and no theme file edits required.
Embed
Put your trained assistant to work on your website. Just copy a small piece of code and they’re ready to greet visitors!
Integrations
Let your assistant work on Instagram, Telegram, WhatsApp, and other platforms where your customers hang out.
Analytics
Review your assistant’s performance. See how many customers they’ve helped and what questions come up most often.
Conversations
Read through past conversations to see how your assistant is doing. It’s like reviewing their work to ensure quality.